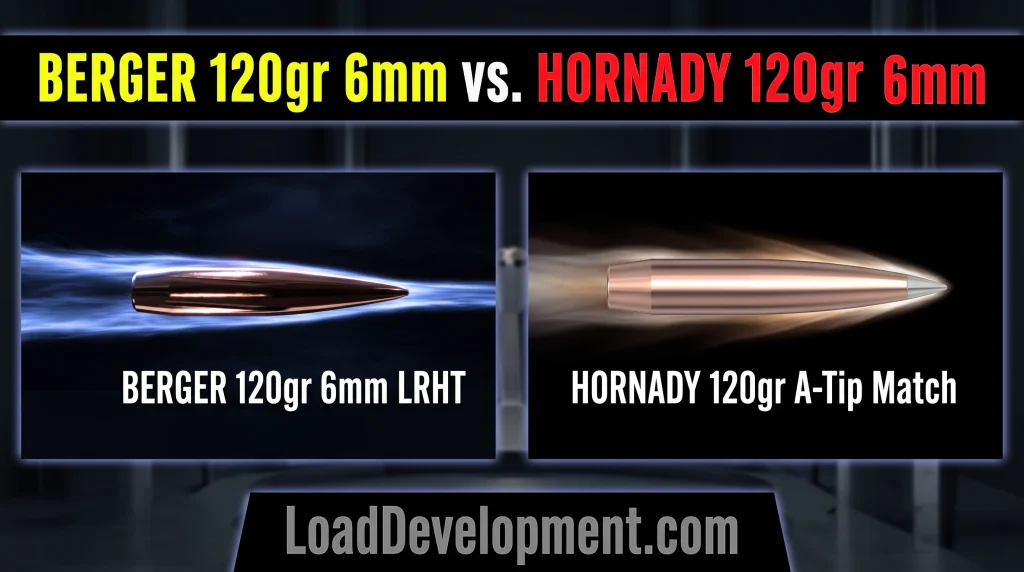
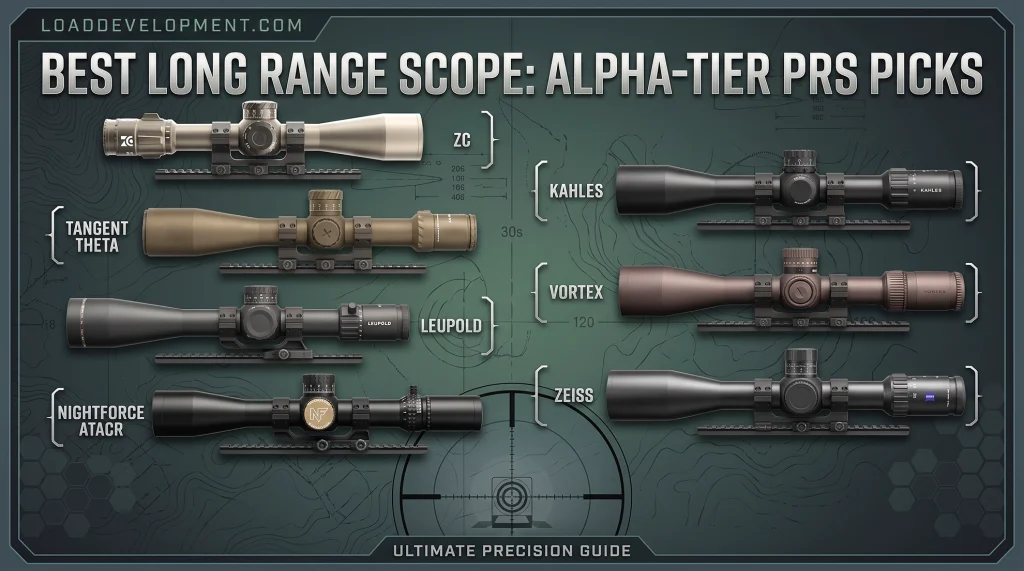
After shooting a 6.5mm Creedmoor for a year in PRS racegun matches, I realized I needed to drop down to a 6mm caliber. The lower recoil would allow me to better spot my own impacts and misses through the scope—a critical advantage when shooting off barricades.
Instead of waiting six months for a gunsmith to chamber a custom barrel, I decided to test the hype around prefit barrels. I ordered a prefit for my Kelbly Atlas action, and the entire caliber change process took less than 20 minutes in my garage.

If you want to skip the gunsmith wait times and swap your own calibers at home, here is the exact step-by-step process for installing a prefit rifle barrel.
🛑 Need to buy a barrel first? Before you start wrenching, make sure you buy the right barrel for your specific action. Read my complete guide to the Best Prefit Barrels for Custom & Factory Actions to see which brands I trust and where to find them in stock.

Tools Required for a Barrel Swap
You cannot do this safely with a pipe wrench and a vise grip. Attempting to do so will crush your barrel or twist your receiver. You need the following purpose-built tools:
- A Barrel Vise: (e.g., Viper or Short Action Customs). This clamps around the barrel to hold it perfectly still.
- An Action Wrench: This must be specific to your action (e.g., a Kelbly Atlas wrench, or a Defiance wrench). It slides inside the receiver to apply torque safely.
- A Torque Wrench: A standard 1/2-inch drive torque wrench capable of reaching 75–100 ft-lbs.
- Headspace Gauges: You absolutely need a “Go” and a “No-Go” gauge for your specific new caliber.
- Anti-Seize Grease: A small dab for the barrel threads to prevent galling.
Step-by-Step: Installing a Prefit Barrel
(Note: This guide assumes you are installing a shouldered prefit on a custom action like a Kelbly, Defiance, or Zermatt. If you are installing a barrel nut “Remage” style prefit on a factory action, the torquing process involves tightening the nut rather than the action itself).
Step 1: Prep and Safety
Ensure the rifle is completely unloaded. Remove the bolt, take off the scope and rings, and unbolt the barreled action from your chassis or stock. You should be left with just the bare action and the old barrel.
Step 2: Secure the Old Barrel
Wrap the old barrel in a piece of paper, cardboard, or leather to prevent the vise from scratching the finish. Clamp the barrel firmly into your barrel vise. Make sure the vise is bolted securely to a heavy workbench.

Step 3: Break the Action Loose
Insert your action wrench into the rear of the receiver. Attach your breaker bar or wrench. Give it a firm, steady pull to break the factory torque. Once it “pops” loose, you can usually spin the action off the rest of the way by hand.
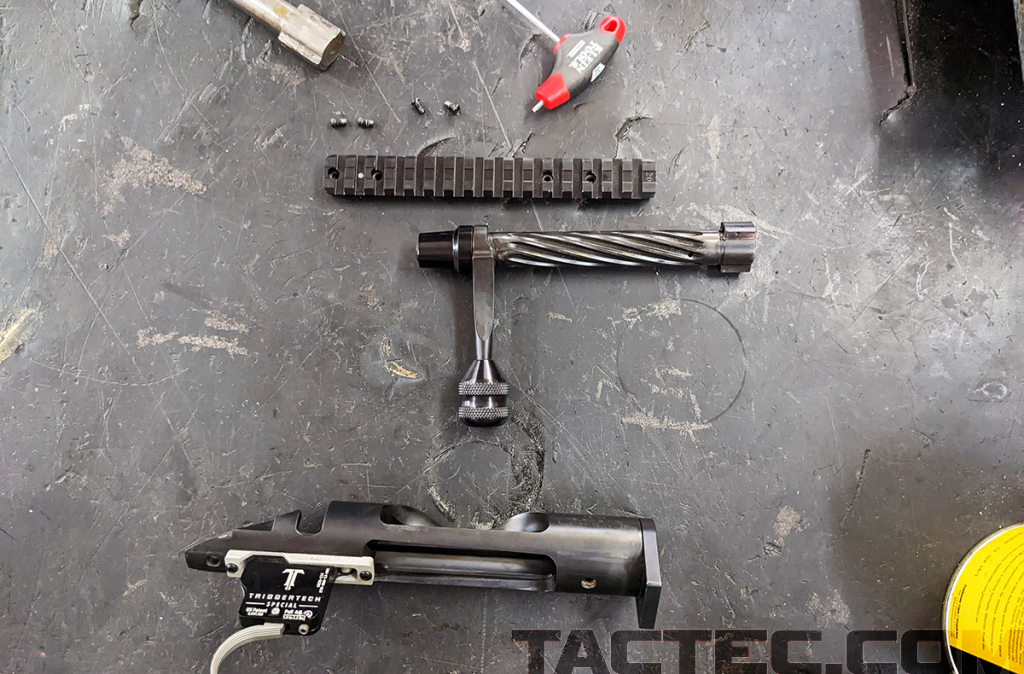
Step 4: Clean and Lubricate
Wipe down the internal threads of your action to remove any old grease, carbon, or debris. Take your new prefit barrel and apply a very small amount of anti-seize grease to the threads. This prevents the steel from galling (binding together) under high torque.
Step 5: Thread and Torque
Clamp your new prefit barrel into the barrel vise. Thread the action onto the new barrel by hand until it bottoms out firmly against the barrel shoulder.

Insert the action wrench into the receiver, attach your torque wrench, and tighten the action to the manufacturer’s specification. For most custom actions, this is between 75 and 90 ft-lbs.
Step 6: Verify Headspace (CRITICAL)

Even with a perfectly machined shouldered prefit from a top-tier company, you must never fire the rifle without verifying the headspace.
- Strip the Bolt: Remove the ejector and extractor from your bolt. You need to feel the exact physical resistance of the bolt lugs engaging, and the spring tension of the ejector will mask that feeling.
- The “Go” Gauge: Insert the “Go” gauge into the chamber and close the bolt. The bolt handle should drop easily with zero resistance.
- The “No-Go” Gauge: Remove the “Go” gauge, insert the “No-Go” gauge, and attempt to close the bolt. The bolt handle should stop and not close fully.
If the bolt closes on a “Go” gauge and stays open on a “No-Go” gauge, your headspace is perfect, and the rifle is safe to fire.
Frequently Asked Questions (FAQ)
Yes, but you cannot use a “shouldered” prefit. Because factory Remington 700 actions have varying manufacturing tolerances, you must use a “Remage” style prefit. This system uses a threaded barrel and a locking barrel nut. You thread the barrel in until it hits the “Go” gauge, then tighten the nut against the receiver to lock the headspace.
Most custom action manufacturers recommend torquing a shouldered prefit barrel to between 75 and 90 ft-lbs. Always check with your specific action manufacturer (Kelbly, Defiance, Zermatt) for their exact torque spec.
Technically no, but it is highly recommended. The amount of torque required to break an old barrel loose can easily damage a scope if the wrench slips or the action twists violently in the vise. Taking 60 seconds to remove your optic is cheap insurance.
The ejector is under heavy spring tension. If you leave it in the bolt, you will feel that spring tension as you close the bolt handle on the gauge. This makes it impossible to tell if the resistance you are feeling is the spring, or if the bolt is actually crushing against the headspace gauge. Stripping the bolt gives you a true “dead” feel.
Conclusion

By switching to a prefit barrel system, I was able to transition my PRS racegun from 6.5 Creedmoor down to 6mm in a single afternoon, completely bypassing the gunsmith wait list.
Once your new prefit barrel is installed and safely headspaced, it’s time to feed it. Head over to our Bullet Database to pick your projectile, and run your case capacity numbers through LoadForge to start developing the perfect load for your new chamber.

AJ Deysel is a competitive rifle shooter in the PRS and NRL Hunter series, a lifelong hunter, and a recognized ballistics specialist whose load development expertise has been featured by industry leaders like Hornady. He is the founder and lead editor of LoadDevelopment.com. Read more about AJ or view our Editorial & Testing Guidelines.