Reloading your own ammunition can seem intimidating. You are dealing with explosives, thousands of pounds of pressure, and complex measurements. However, the process itself is actually very simple: it is just a series of repeatable, mechanical steps, to put together the different parts of a cartridge.
If you follow the rules and pay attention to detail, reloading is incredibly safe. More importantly, it is the only way to unlock the true accuracy potential of your rifle. Factory ammunition is built to fit every rifle; handloaded ammunition is built to fit your rifle.
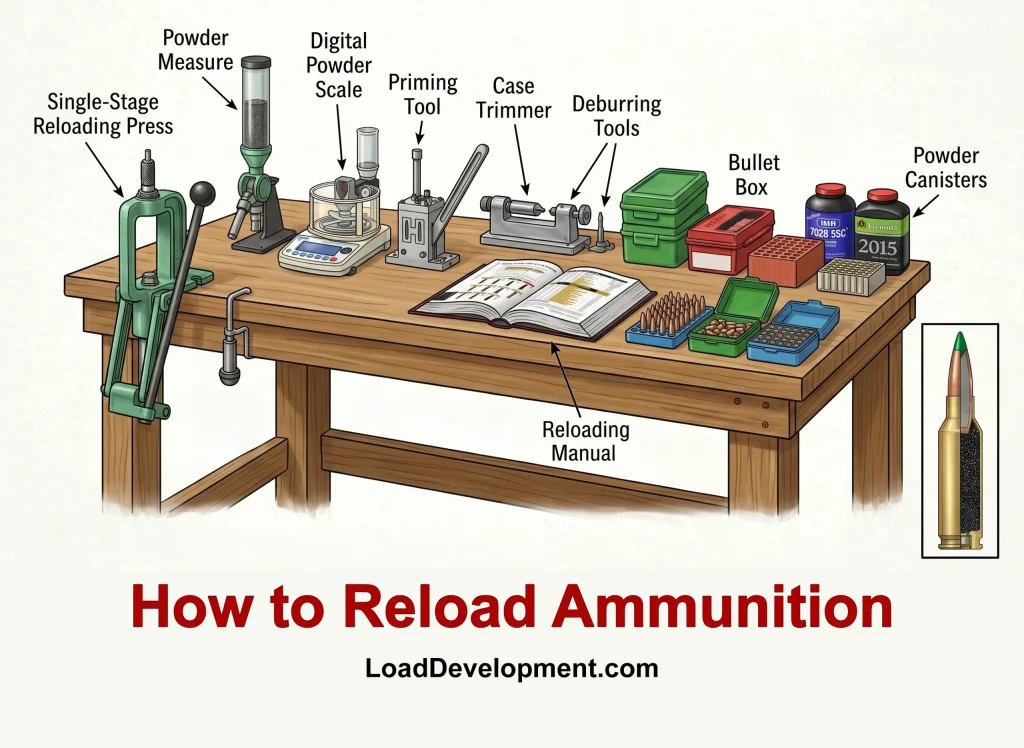
If you already have your gear set up (if not, read our Complete Reloading Equipment Guide), here is the step-by-step process of how to reload a rifle cartridge from start to finish.
Step 1: Inspecting and Cleaning the Brass
Before you do anything, you must inspect your fired brass casings. Look for split necks, dented shoulders, or signs of case-head separation (a bright ring near the base of the brass). If a piece of brass looks damaged, throw it away. Do not risk your rifle or your safety to save fifty cents.
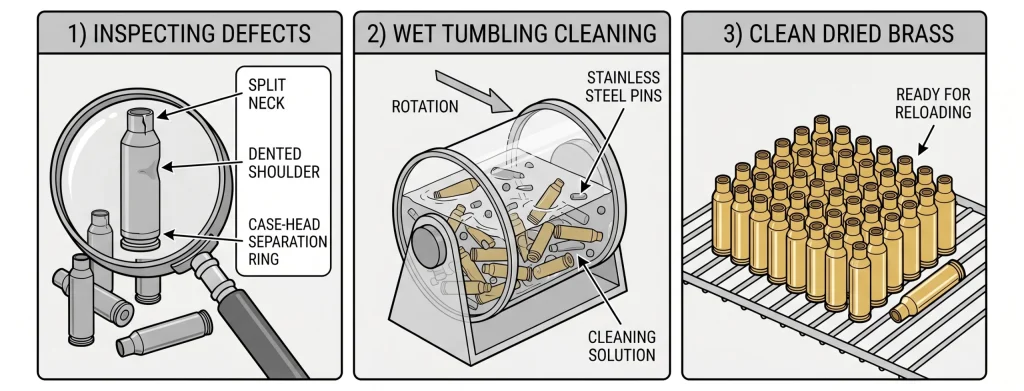
Once inspected, the brass needs to be cleaned. Fired brass is coated in carbon fouling, which can scratch the inside of your expensive reloading dies.
- The Process: Most modern precision shooters use a “wet tumbler” with stainless steel pins, water, and a drop of dish soap. Tumbling the brass for a few hours will make it look brand new, both inside and out.
- Drying: Ensure the brass is 100% dry before moving to the next step. Moisture inside a case will ruin gunpowder.
Step 2: Resizing and Depriming
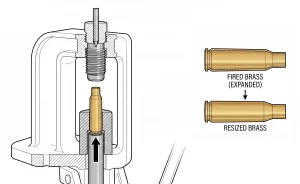
When you fire a cartridge, the brass expands like a balloon to seal the chamber of your rifle. To use it again, you must squeeze it back down to its original dimensions. This is done using a Sizing Die in your reloading press.
- Lubricate the Brass: You must apply case lube to the outside of the brass (and a tiny amount inside the case neck). If you push unlubricated brass into a steel die, it will get hopelessly stuck.
- Run it through the Press: Place the lubricated brass into the shellholder on your press and pull the lever. The brass is pushed up into the die, which squeezes the body and neck back to factory specs.
- Depriming: As the brass goes up into the die, a small pin (the decapping pin) punches the spent primer out of the bottom of the case.
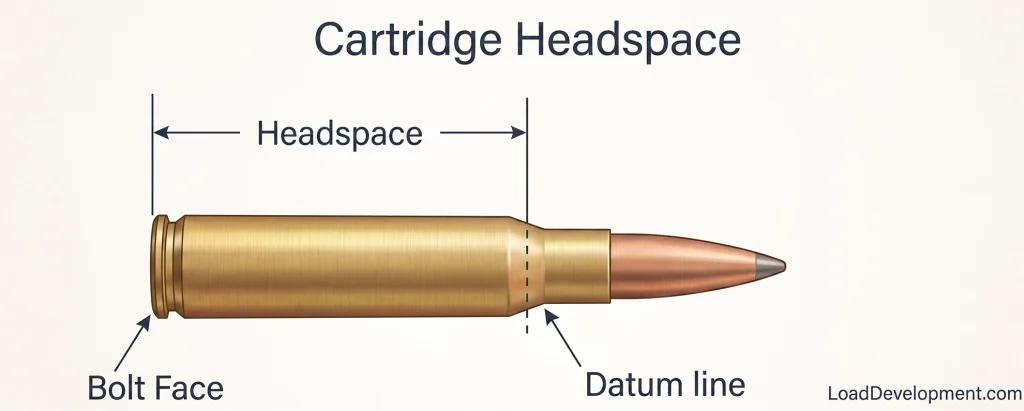
Want to shoot tighter groups? Standard sizing dies squeeze the brass back to generic factory specs. In my Advanced Precision Reloading Course, I teach you exactly how to measure your rifle’s specific chamber and set your dies to “bump the shoulder” by exactly .001 to .002 inches. This custom fit is the secret to single-digit standard deviations.
Step 3: Case Preparation (Trimming and Chamfering)
Because brass is a soft metal, the extreme pressure of firing causes it to stretch. After a few firings, the brass will become too long to safely chamber in your rifle.
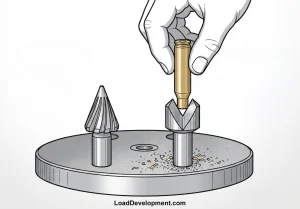
- Measure: Use your digital calipers to measure the Overall Case Length. Compare this to the “Trim-to Length” listed in your reloading manual.
- Trim: If the brass is too long, use a case trimmer to shave brass off the neck until it reaches the correct length.
- Chamfer & Deburr: Trimming leaves sharp, jagged edges on the brass neck. Use a chamfer/deburr tool to smooth the inside and outside of the case mouth. This ensures the new bullet will seat smoothly without scraping the copper jacket.
Step 4: Seating the New Primer
The primer is the spark plug of the cartridge. It must be seated carefully and consistently.
Using a hand-priming tool (or the priming system on your press), press a new primer into the primer pocket at the base of the brass.
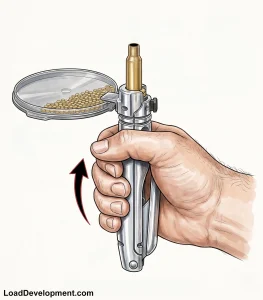
- The Rule of Thumb: A properly seated primer should sit just below flush with the base of the case. If you run your finger over the base, you should feel a slight indentation. If the primer is sticking out, the cartridge is dangerous and could fire if the bolt is closed aggressively.
(Not sure which primer to use? Read our Ultimate Guide to Reloading Primers to understand the difference between standard, magnum, and match primers).
Step 5: Charging the Powder
This is the most critical step for safety and accuracy. You must consult a published reloading manual (or a trusted digital source like LoadForge) to find the correct powder charge for your specific bullet weight and caliber.
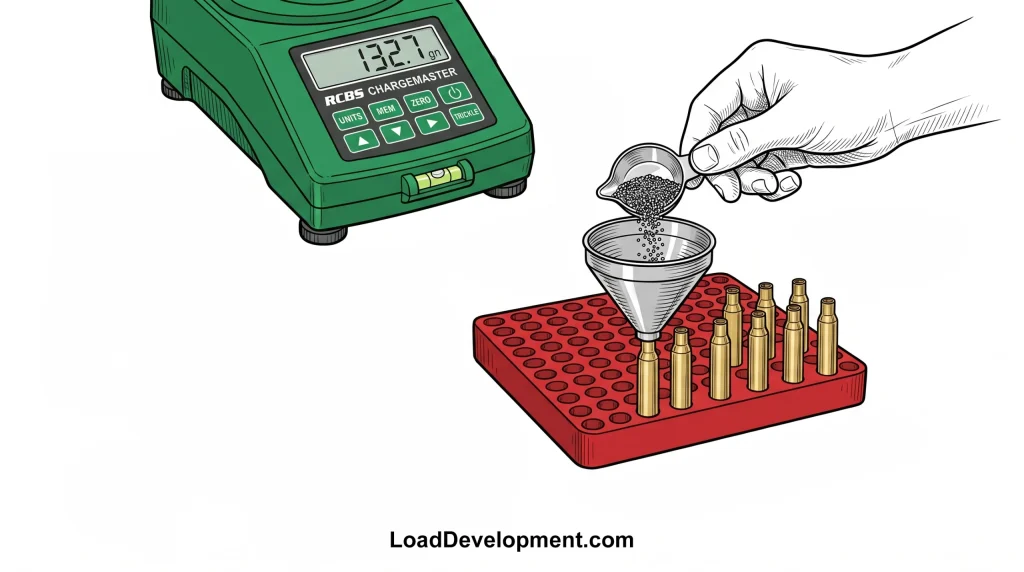
- Start Low: Never start at the “Maximum Charge” listed in the manual or load data. Always start at the “Starting Charge” (usually 10% lower) and work your way up slowly, watching for pressure signs.
- Measure Exactly: Use your powder scale or electronic dispenser to weigh the exact charge (e.g., 42.5 grains).
- Charge the Case: Pour the powder into the primed brass case using a powder funnel.
- The Flashlight Check: Crucial Safety Step. Before you seat a single bullet, place all your powder-charged cases in a loading block and shine a flashlight into them. Ensure every case has powder in it, and ensure no case has a “double charge” (twice as much powder as the others).
Finding the Perfect Load: Your rifle will have a specific “velocity node” where it shoots the tightest groups. Finding this requires doing a systematic “Ladder Test.” We cover exactly how to design, shoot, and analyze a ladder test in Chapter 4 of the Reloading Manual.
Step 6: Seating the Bullet
The final step is pushing the new bullet into the charged case.
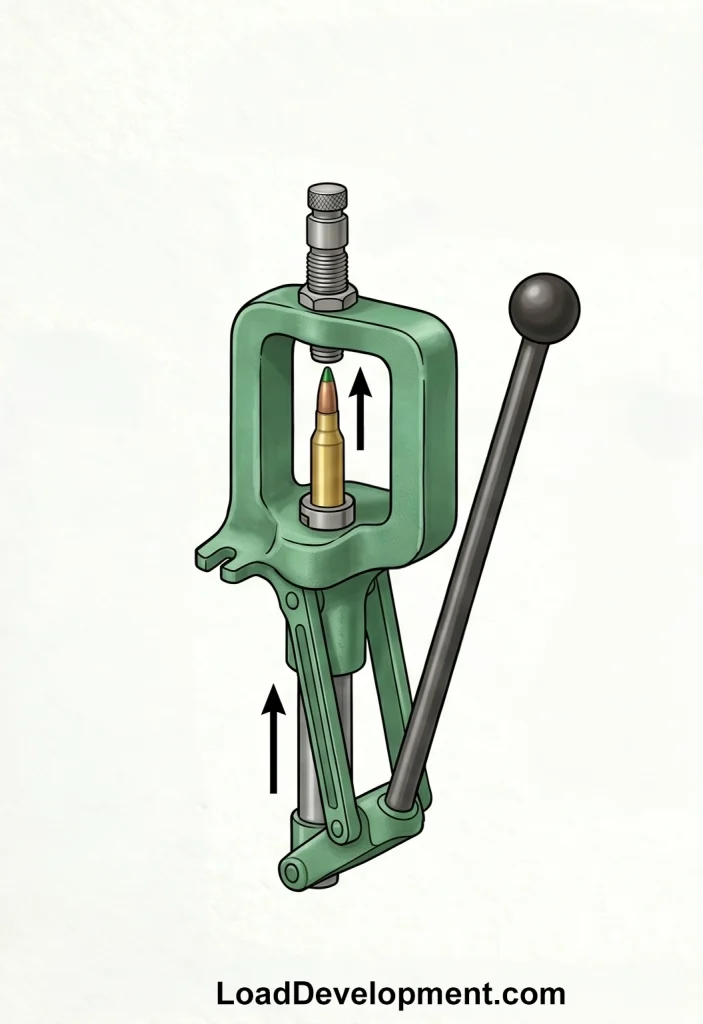
- Place the charged case into the shellholder.
- Set a bullet on top of the case mouth.
- Pull the lever to push the cartridge up into the Seating Die.
- Measure the Cartridge Overall Length (COAL) with your calipers. Adjust the dial on top of your seating die until the bullet is pushed to the exact depth specified in your load data.
Congratulations—you have just reloaded your first cartridge.
The Next Step: From “Making Ammo” to “Precision Handloading”
You now know the basic mechanical steps to reload a cartridge that goes bang. But there is a massive difference between making cheap plinking ammo and crafting precision ammunition that shoots half-MOA at 1,000 yards.
True precision requires understanding how to manipulate seating depth (bullet jump), how to read pressure signs on fired brass, and how to tune your load to your specific barrel harmonics.
If you are ready to stop guessing and learn the exact techniques the pros use to achieve single-digit standard deviations, it’s time to upgrade your knowledge.
Join the Advanced Precision Reloading Course Here
Frequently Asked Questions

AJ Deysel is a competitive rifle shooter in the PRS and NRL Hunter series, a lifelong hunter, and a recognized ballistics specialist whose load development expertise has been featured by industry leaders like Hornady. He is the founder and lead editor of LoadDevelopment.com. Read more about AJ or view our Editorial & Testing Guidelines.